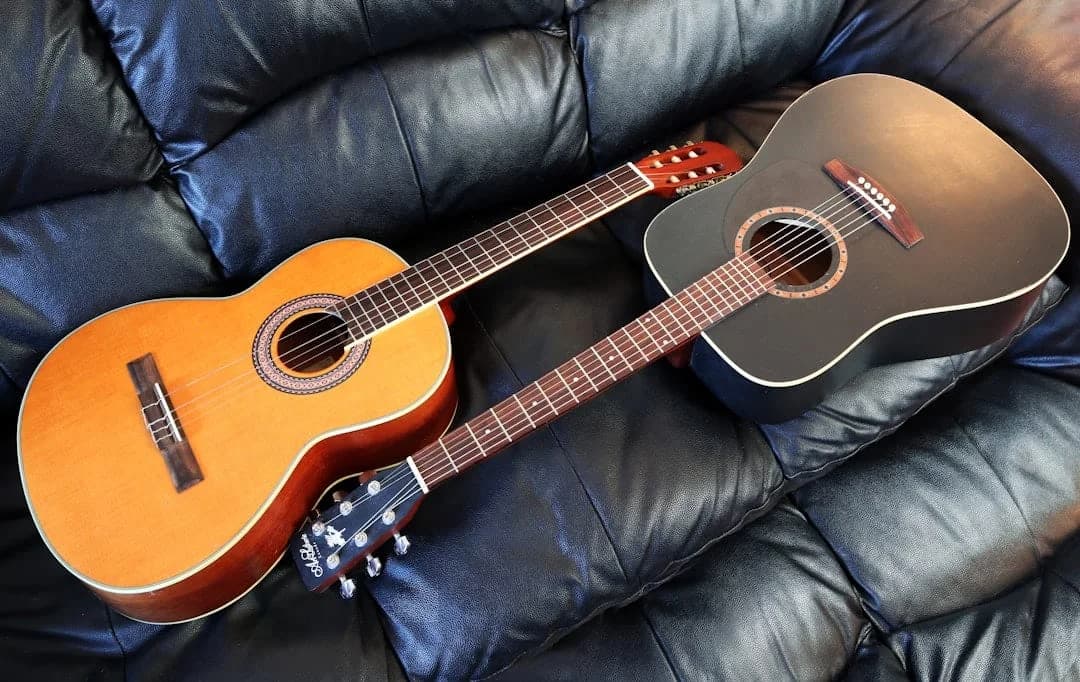

In this lesson, you will build a complete blues in A, understand why dominant seventh chords create the style’s characteristic sound, learn a basic shuffle groove, and use the blues scale to create phrases that fit the harmony. The goal is not to memorize dozens of shapes, but to understand a vocabulary you can reuse in hundreds of songs.
Why blues matters
Blues grew out of the African American musical experience and developed into a language built on voice, rhythm, repetition, tension, and response. Its influence runs through rock, jazz, soul, funk, country, and much of modern popular music.
When you listen to B.B. King, Muddy Waters, Robert Johnson, Eric Clapton, Stevie Ray Vaughan, or John Mayer, you hear very different approaches, yet they share several basic elements:
- cyclical chord progressions;
- dominant chords, usually with a minor seventh;
- short phrases that sound conversational;
- expressive bends, vibrato, slides, and rests;
- contrast between repetition and variation;
- a strong connection between rhythm and melody.
Blues also proves that playing well does not mean playing many notes. A simple phrase placed at the right moment with convincing articulation usually sounds stronger than a fast sequence with no direction.
The 12-bar blues form
In A major, those degrees are:
- I: A
- IV: D
- V: E
In blues, all three are commonly turned into dominant seventh chords:
- I7: A7
- IV7: D7
- V7: E7
The basic progression is:
| Bars | Harmony |
|---|---|
| 1–4 | A7 — A7 — A7 — A7 |
| 5–8 | D7 — D7 — A7 — A7 |
| 9–12 | E7 — D7 — A7 — E7 |
Count the bars slowly:
1   2   3   4
A7  A7  A7  A7

5   6   7   8
D7  D7  A7  A7

9   10  11  12
E7  D7  A7  E7
Why can every chord be a seventh chord?
In traditional tonal harmony, the fifth degree is the chord most naturally used as a dominant seventh. Blues follows a different logic: the I chord also receives a minor seventh, creating a sound that combines stability and tension.
A7 contains:
G is the minor seventh of A. It gives the chord a rough, open, unresolved color. That tension does not need to resolve immediately as it would in a classical cadence. In blues, it is part of the chord’s identity.
The same applies to D7 and E7. The entire harmony therefore carries motion even when the music remains on one chord for several bars.
The three essential chords
Start with these open shapes:
Strum from the fifth string downward. Avoid the low sixth string.
Strum from the fourth string downward.
Strum all six strings.
Before working on the groove, practice the changes in slow motion. Your first goal is to switch chords without interrupting the pulse.
Chord-change exercise
| A7  A7  A7  A7 | D7  D7  D7  D7 |
| A7  A7  A7  A7 | E7  E7  E7  E7 |
Each chord symbol represents one beat. Repeat the sequence eight times without stopping. When the changes feel secure, increase the tempo to 66 bpm and then 72 bpm.
Do not lift every finger far away from the strings. Keep movements small. When changing between A7 and D7, look for the shortest possible path for each finger.
Rhythm: straight eighths and shuffle
Blues can use many grooves, but two rhythmic feels are fundamental: straight subdivision and shuffle.
With straight eighth notes, both halves of the beat are equal:
1   and 2   and 3   and 4   and
↓   ↑   ↓   ↑   ↓   ↑   ↓   ↑
In shuffle, the first part of each beat is longer and the second is shorter. Imagine dividing each beat into three equal parts and playing only the first and third:
1   -   a   2   -   a   3   -   a   4   -   a
↓       ↑   ↓       ↑   ↓       ↑   ↓       ↑
A simple practice method is to play downstrokes on the main beats and add an upstroke on the final triplet subdivision.
Basic shuffle strum
Apply this pattern to each chord:
Count:     1   -   a   2   -   a   3   -   a   4   -   a
Pick:      ↓       ↑   ↓       ↑   ↓       ↑   ↓       ↑
On acoustic guitar, the motion should come mainly from the wrist, not the entire arm. Keep the hand relaxed and let the pick or fingernail cross only the strings you need.
When fingerpicking, use the thumb for bass notes and the index, middle, and ring fingers for the upper strings. Keep the same long-short shuffle feel.
The boogie groove: making the accompaniment sound like blues
One of the most recognizable blues sounds is the accompaniment that alternates the fifth and sixth of the chord. Instead of strumming full chords constantly, you create a small melodic motion inside the harmony.
For A, use the A and D strings:
The open fifth string sustains A while the fourth string alternates between E at the 2nd fret and F# at the 4th fret.
For D, move the pattern one string set higher:
For E, use the sixth and fifth strings:
These examples show a simplified pattern. Play them with a shuffle feel rather than perfectly equal eighth notes.
Now apply the boogie pattern to the full form:
| A | A | A | A |
| D | D | A | A |
| E | D | A | E |
Start at 60 bpm. Play one complete chorus without stopping, then play four choruses in a row. With each repetition, reduce unnecessary tension in your fretting hand.
Avoid excessive pressure
Because the pattern repeats constantly, many players press harder than necessary. This tires the forearm and damages the groove. Use only enough pressure for a clean note.
Keep the finger that reaches the 4th fret close to the fretboard. It should wait near the string, ready to move.
The A blues scale
To improvise over this progression, begin with the A minor blues scale. It is the minor pentatonic scale plus one passing tone called the blue note.
Its notes are:
The intervals from A are:
The most common shape begins at the 5th fret:
The diagram shows every scale tone between frets 5 and 8. Notes marked ● are A, the root.
Play the scale ascending and descending:
Use one finger per fret area whenever practical:
- index on fret 5;
- middle on fret 6;
- ring on fret 7;
- little finger on fret 8.
Do not turn the pattern into a mechanical race. Say the note names, or at least identify the roots as you play.
Why does a minor scale work over major chords?
This is one of the defining sounds of blues. The harmony uses dominant chords with major thirds, while the melody often uses the minor third.
A7 contains C#, but the A blues scale contains C natural. The friction between C and C# creates one of the style’s most expressive tensions.
You do not need a complicated rule to justify it. Listen to the effect. Players often strike C and bend it slightly toward C#, creating a pitch region that does not sit exactly on a tempered fret.
That flexibility resembles the human voice and is central to blues phrasing.
Building your first phrases
A scale becomes music only when its notes are organized into phrases. Think of a conversation: one person speaks, pauses, and another answers.
Begin with a short statement:
8b(10) means bending the note at the 8th fret until it reaches approximately the pitch found at the 10th fret.Play slowly. The goal is not merely to move the string, but to reach the target pitch accurately.
Now play an answer:
Play Phrase 1 in bars 1 and 2, let bars 3 and 4 breathe, then play Phrase 2 in bars 5 and 6.
Use the root as a resting point
When you feel lost, return to A:
- 5th fret of the sixth string;
- 7th fret of the fourth string;
- 5th fret of the first string.
The root usually feels stable over A7. During D7 and E7, however, other notes can represent each chord more clearly.
At first, you can use the complete scale over the whole progression. Then begin following the harmony:
- over A7, try landing on A or E;
- over D7, try landing on D or A;
- over E7, try landing on E or B.
Even before studying full arpeggio shapes, this awareness will make your solo sound connected to the chords.
Articulation: the difference between notes and blues
Blues vocabulary depends heavily on how each note is played.
Bend
A bend raises pitch by pushing or pulling the string. Use supporting fingers for strength and control. When your ring finger plays the 8th fret, place the index and middle fingers behind it.
Compare the bend with its target note:
First bend at the 8th fret. Then play the actual note at the 10th fret. Both pitches should match.
Vibrato
Vibrato is a controlled oscillation of pitch. In blues it is often wider than classical-guitar vibrato, but it should never be random.
Hold one note for four beats and add vibrato only on beats 3 and 4. This prevents the effect from becoming automatic.
Slide
A slide connects notes without breaking the sound:
5/8 is an ascending slide. 8\5 is a descending slide.Hammer-on and pull-off
Pick the 5th fret, hammer onto the 8th, and pull off back to the 5th. Continue on the third and fourth strings.
Use these techniques to vary simple phrases rather than decorating every note.
A guided 12-bar solo
The following study fits one chorus of blues in A. Play it with a medium shuffle at about 70 bpm.
Each line represents roughly two bars. Adjust note lengths by listening to the pulse and leaving space between ideas.
Do not treat this solo as a fixed composition. Extract two or three ideas and change:
- the final note;
- the rhythm;
- the articulation;
- the octave;
- the beat where the phrase begins.
That is how a memorized lick becomes personal vocabulary.
Structured exercises
Exercise 1 — Memorize the form
Goal: play five 12-bar choruses without losing your place.
- Set the metronome to 60 bpm.
- Play only one strum per bar.
- Say the bar number aloud.
- On the second round, play four beats per bar.
- Continue until you complete five error-free choruses.
Advancement standard: at any moment, you should know whether you are in the A7, D7, or E7 section.
Exercise 2 — Consistent shuffle
Goal: maintain the groove for three minutes without speeding up.
- Use only A7.
- Play the long-short pattern at 65 bpm.
- Record three minutes on your phone.
- Listen for tempo fluctuations and overly strong attacks.
- Repeat with D7 and E7.
Advancement standard: the end of the recording should remain aligned with the metronome without sounding stiff.
Exercise 3 — Controlled scale practice
Goal: play the A blues scale in eighth notes, ascending and descending.
- Begin at 60 bpm.
- Play two notes per beat.
- Use alternate picking or consistent finger alternation.
- Complete four clean repetitions.
- Increase the tempo by 4 bpm.
Advancement standard: do not increase speed when notes are muted, buzzing, or uneven in volume.
Exercise 4 — Call and response
Goal: create two-bar phrases.
- Play a backing track in A.
- In bars 1 and 2, play a phrase.
- In bars 3 and 4, answer with a variation.
- In bars 5 and 6, remain silent.
- Alternate phrases and space for five choruses.
Advancement standard: each phrase should have a clear beginning, development, and ending. Avoid running the entire scale without rests.
Exercise 5 — Chord-tone targets
Goal: make the solo follow the chord changes.
- Over A7, end one phrase on A.
- Over D7, end one phrase on D.
- Over E7, end one phrase on E.
- Use any scale tones to approach those targets.
- Make ten attempts for each chord.
Advancement standard: you should hear a sense of arrival rather than merely recognize a visual fretboard shape.
Professional tips
Listen before copying
Before searching for tablature, listen to the phrase several times. Sing its rhythm and identify rests, long notes, and accents. Tablature shows positions, but rarely communicates the full intention.
Do not always begin on beat one
Interesting phrases often begin before or after the strong beat. Try entering on the final triplet subdivision of beat four, creating a pickup into the next bar.
Count:  4   -   a | 1
Entry:          x | x
This small anticipation makes a phrase feel more natural.
Repeat with small changes
B.B. King was a master at repeating one idea and changing only the ending, vibrato, or duration. Repetition creates identity; variation keeps the listener engaged.
Respect the accompaniment
When playing with someone else, avoid full chord strums and high-register fills at the same time unless the arrangement requires it. Choose a function: accompany, answer, or solo.
Tune your bends
An out-of-tune bend attracts more attention than a passing wrong note. Always compare the bend with its target pitch. At first, favor half-step bends, such as bending the 7th fret toward the pitch of the 8th fret on the third string.
Control unwanted noise
During bends and slides, neighboring strings may ring accidentally. Use the inside edge of the index finger to touch higher strings and the palm or thumb to control lower strings.
Transcribe fewer phrases more deeply
It is better to learn four bars of a solo and understand rhythm, articulation, and harmony than to memorize fifty disconnected licks. Good listening material includes “The Thrill Is Gone” by B.B. King, “Before You Accuse Me” as performed by Eric Clapton, and the acoustic recordings of Robert Johnson.
Play along with records
Backing tracks are useful, but real recordings teach subtle changes of timing, dynamics, and intention. Choose a simple song, find the key, and first try accompanying the form without soloing.
Common mistakes
The first mistake is speeding up whenever your hand reaches a familiar lick. Record yourself and check whether memorized phrases rush ahead of the groove.
The second is playing every note at the same volume. Blues depends on accents. Select a few notes to emphasize and let others act as passing tones.
The third is treating the blue note, Eb, as a constant resting point. It usually works better as tension between D and E.
The fourth is ignoring the harmony. The blues scale may work over all three chords, but a mature solo acknowledges the changes and directs its phrases accordingly.
The fifth is playing without breathing. Leave intentional rests. Silence creates expectation.
Next steps
After mastering this lesson, continue in a logical sequence:
- learn the A major pentatonic scale and compare it with the minor pentatonic;
- study A7, D7, and E7 arpeggios;
- practice combining major and minor thirds;
- learn turnarounds in different fretboard areas;
- transpose the 12-bar blues to E, G, and C;
- study licks from one artist at a time;
- record your own accompaniment and improvise over it.
Your next major breakthrough comes when you stop seeing the scale as a fixed box and begin hearing functions: resting notes, tension notes, approaches, and responses.
Blues is simple enough to play during your first week and deep enough to study for a lifetime. Start with three chords, keep the pulse steady, leave space between phrases, and make every note say something.