
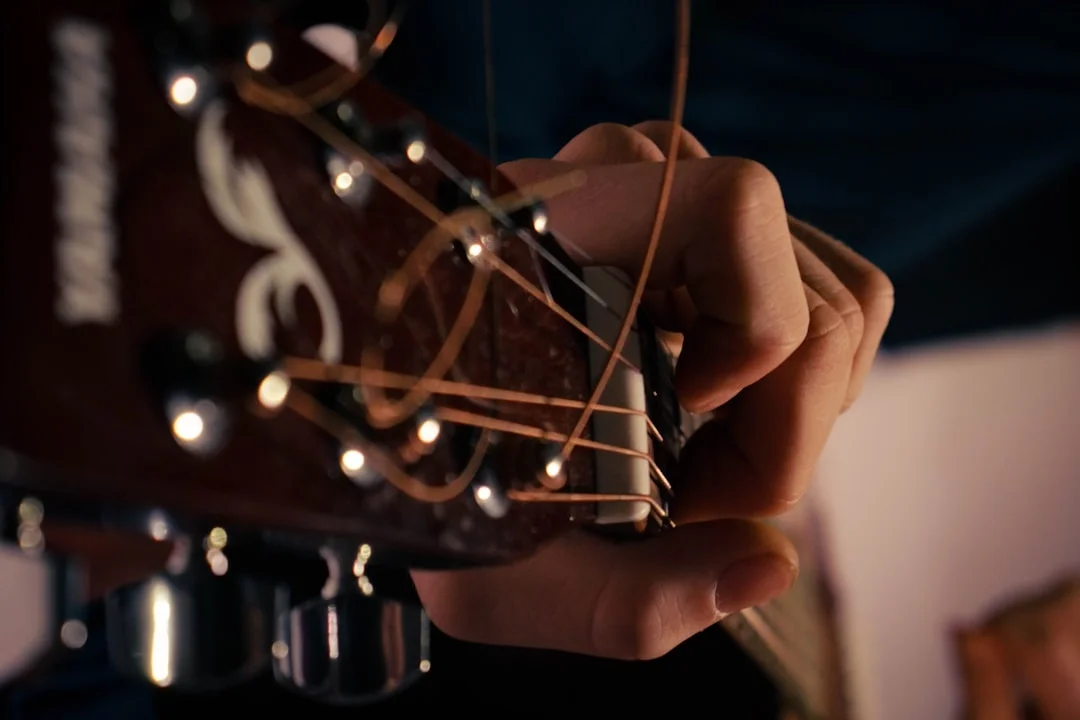
Trocar as cordas da guitarra é uma das primeiras habilidades de manutenção que todo guitarrista deve aprender. Além de economizar tempo e dinheiro, você passa a conhecer melhor o seu instrumento e consegue manter o som sempre vivo, afinado e confortável para tocar.
Se você nunca fez isso antes, é normal ter receio de quebrar uma corda, enrolar errado na tarraxa ou desregular a ponte. A boa notícia é que o processo é simples quando você segue uma ordem clara. Neste guia, você vai aprender quando trocar as cordas, quais ferramentas usar e como fazer a troca passo a passo, mesmo sendo iniciante.
Quando trocar as cordas da guitarra?
Não existe uma regra única, porque a vida útil das cordas depende de frequência de uso, suor, limpeza, clima e tipo de corda. Ainda assim, alguns sinais indicam que chegou a hora da troca:
- O som está opaco, sem brilho ou sem sustain.
- As cordas estão ásperas ao toque.
- Há manchas escuras, oxidação ou ferrugem.
- A afinação não segura por muito tempo.
- A corda arrebentou ou está com marcas profundas.
- Você sente dificuldade para fazer bends ou vibratos.
Para quem toca algumas vezes por semana, trocar as cordas a cada 1 ou 2 meses costuma ser uma boa referência. Quem toca todos os dias, ensaia ou faz shows pode precisar trocar com mais frequência. Já quem toca pouco pode manter o jogo por mais tempo, desde que as cordas estejam limpas e sem oxidação.
O que você vai precisar
Antes de começar, separe tudo para evitar parar no meio do processo:
- Um jogo novo de cordas para guitarra.
- Afinador eletrônico, pedal afinador ou app confiável.
- Alicate de corte.
- Encordoador de manivela, opcional, mas muito útil.
- Pano macio e seco.
- Produto próprio para limpeza de escala, opcional.
- Apoio para o braço da guitarra, opcional.
Antes de tirar as cordas: atenção à ponte
Guitarras podem ter pontes diferentes. As mais comuns são:
Ponte fixa
É mais simples para iniciantes. As cordas passam pelo corpo, pela ponte ou por uma peça chamada stop tailpiece. A troca costuma ser direta: soltar a corda antiga, remover e instalar a nova.
Ponte tremolo tipo Stratocaster
A corda geralmente entra pela parte de trás do corpo e sai pela ponte. Também é tranquila, mas exige atenção para passar a corda pelo furo correto.
Ponte flutuante tipo Floyd Rose
Esse sistema é mais avançado. Pode exigir cortar a bolinha da corda, prender no carrinho com parafuso e equilibrar molas. Se sua guitarra tem Floyd Rose e você é iniciante, troque uma corda por vez e evite remover todas ao mesmo tempo, para não desestabilizar a ponte.
Neste guia, o passo a passo serve para a maioria das guitarras com ponte fixa ou tremolo tradicional. Se a sua ponte for flutuante, use o processo com cuidado e considere procurar um luthier na primeira vez.
Passo a passo: como trocar as cordas da guitarra
| # | Etapa | Descrição |
|---|---|---|
| 1 | Apoie a guitarra com segurança | Coloque em uma superfície plana coberta com toalha ou tapete macio. Apoie o braço de forma estável para evitar quedas ou pressão no headstock. |
| 2 | Afrouxe as cordas antigas | Gire as tarraxas até as cordas ficarem bem frouxas. Nunca corte uma corda totalmente tensionada — ela pode chicotear e causar ferimentos. |
| 3 | Remova as cordas | Retire a ponta da tarraxa e depois remova da ponte. Em string-through, empurre pela parte de trás. Descarte com cuidado: as pontas são afiadas. |
| 4 | Limpe a guitarra | Com as cordas fora, limpe escala, trastes, ponte e captadores. Use pano seco. Em escalas de rosewood ou ébano, aplique produto próprio; em maple envernizado, evite óleos. |
| 5 | Identifique a ordem das cordas | Da mais grossa para a mais fina: 6ª Mi grave — 5ª Lá — 4ª Ré — 3ª Sol — 2ª Si — 1ª Mi agudo. Confira o calibre no pacote antes de instalar. |
| 6 | Passe a corda pela ponte | Comece pela 6ª corda. Passe pelo caminho correto da ponte e puxe até a bolinha encostar firmemente, sem folgas. |
| 7 | Meça a folga na tarraxa | Puxe a corda reta e deixe cerca de 5 a 7 cm de folga. Cordas graves precisam de 2–3 voltas; cordas agudas, de 3–5 voltas. |
| 8 | Enrole de forma organizada | Passe a ponta pelo furo da tarraxa. As voltas devem descer organizadas pelo poste, sem cruzar. A corda deve sair pelo lado interno do headstock. |
| 9 | Repita nas demais cordas | Instale uma por vez. Ao terminar cada uma, corte o excesso com alicate, deixando uma pequena ponta de segurança. |
| 10 | Afine pela primeira vez | Use um afinador e leve a guitarra para E A D G B E. Faça isso devagar. Cordas novas esticam — é normal a afinação cair nos primeiros minutos. |
Como esticar as cordas novas
Depois da primeira afinação, estique as cordas suavemente. Segure uma corda por vez perto do meio da escala e puxe levemente para cima, sem força exagerada. Depois afine novamente.
Repita o ciclo algumas vezes:
- Afinar.
- Esticar suavemente.
- Afinar de novo.
- Tocar alguns acordes e bends.
- Conferir a afinação.
Isso ajuda as cordas a assentarem nas tarraxas, no nut e na ponte. Nas primeiras horas, ainda pode haver pequena instabilidade, mas ela deve diminuir rapidamente.
Erros comuns ao trocar cordas
| Erro | Como evitar |
|---|---|
| Cortar cordas tensionadas | Sempre afrouxe totalmente antes de cortar. A corda tensionada pode chicotear. |
| Enrolar com poucas voltas | Deixe folga suficiente: 2–3 voltas nas grossas, 3–5 nas finas. |
| Voltas cruzadas e bagunçadas | Organize as voltas para descerem pelo poste sem se sobrepor. |
| Instalar cordas na ordem errada | Confira o calibre impresso no pacote antes de colocar cada corda. |
| Usar produtos inadequados na escala | Rosewood e ébano aceitam óleo específico; maple envernizado aceita apenas pano seco. |
| Mudar muito o calibre sem ajuste | Mudanças grandes de calibre podem exigir regulagem de tensor, ponte e ação. |
| Não esticar as cordas novas | Estique suavemente após afinar para as cordas assentarem mais rápido. |
Preciso regular a guitarra depois de trocar as cordas?
Se você usou o mesmo calibre e a mesma afinação, geralmente não precisa de regulagem completa. Pode ser necessário apenas afinar bem e deixar as cordas assentarem.
Porém, procure um luthier se você notar:
- Cordas muito altas ou muito baixas.
- Trastejamento excessivo.
- Ponte levantada ou afundada além do normal.
- Oitavas desafinadas mesmo após afinar corretamente.
- Dificuldade incomum para tocar.
A troca de cordas é manutenção básica; regulagem envolve ajuste de tensor, altura das cordas, oitavas e, em alguns casos, ponte e captadores.
Dicas para as cordas durarem mais
Depois de trocar, alguns cuidados simples aumentam a vida útil do encordoamento:
- Lave e seque as mãos antes de tocar.
- Passe um pano seco nas cordas após estudar.
- Guarde a guitarra em case, bag ou suporte seguro.
- Evite deixar o instrumento em locais úmidos.
- Use cordas revestidas se você sua muito ou quer maior durabilidade.
Esses hábitos preservam o brilho do som e deixam a tocabilidade mais agradável por mais tempo.
Conclusão
Aprender como trocar as cordas da guitarra é um passo importante para qualquer guitarrista iniciante. O processo exige atenção, mas não precisa ser complicado: afrouxe as cordas antigas, remova com cuidado, limpe o instrumento, instale o novo jogo na ordem correta, enrole bem nas tarraxas, afine e estique as cordas.
Na primeira vez, faça tudo sem pressa. Depois de algumas trocas, você vai perceber que o procedimento se torna natural. E a recompensa é imediata: som mais brilhante, bends mais confortáveis, melhor afinação e a sensação de tocar uma guitarra renovada.